How To Deploy a containerized Application on AWS App Runner using Terraform
Yusuf Adeyemo is a DevOps Engineer from Nigeria. He loves helping startups deliver better software and provide more control over their environment and software development process with the help of modern tools and automation.
AWS App Runner is a fully managed service that enables developers to quickly deploy containerized web applications and APIs at scale while requiring no prior infrastructure experience. You can begin with either your source code or a container image.
This post will show you how to deploy a containerized application with AWS App Runner. We'll do this by using Terraform to deploy a simple containerized Python application to AWS Runner. First, we'll learn how to create Terraform AWS Provider, then use Terraform to deploy a simple app to our AWS App Runner Service, and finally, we'll have a simple application that works with a public endpoint.
Prerequisites
Before you begin this tutorial, you'll need the following:
an AWS Account( You can create a free one here )
Install Terraform locally or use the AWS Cloud Shell, then install Terraform; I wrote an article on how to do that here
your text editor of choice (my suggestion is VS Code)
Step 1: Installing Terraform
To install Terraform, navigate to the Terraform learn page and follow the instructions based on your preferred OS.
To verify that it has been installed correctly, you can do a version check:
terraform version
If the installation were successful, you would see output like the following:
Terraform v1.2.5
on darwin_arm64
With terraform installed and ready to use, you will need to configure the AWS credentials for your user account by generating API access keys here and configure for Terraform to use. There are many ways to do this, but one of the easiest is to set the AWS_ACCESS_KEY_ID and AWS_SECRET_ACCESS_KEY as environment variables:
export AWS_ACCESS_KEY_ID=(your access key id)
export AWS_SECRET_ACCESS_KEY=(your secret access key)
Step 2: Configure the AWS Terraform Provider
The next thing to do is configure Terraform to use the AWS provider for your configuration. You'll need to create a file in the directory you created for your project called main.tf. For this project, I created a directory called terraform-apprunner that will serve as your working directory.
In the main.tf file, you will first need to define the providers that you will use for the configuration.
Once we have defined our providers, we will need to define three resources in our initial configuration.
terraform {
  required_providers {
    aws = {
      source  = "hashicorp/aws"
      version = "4.22.0"
    }
  }
}

# Configure the AWS Provider
provider "aws" {
  region = "eu-west-1"
}
Adding to what we just did above: In the terraform block, we required an AWS provider. Terraform relies on plugins called "providers" to interact with cloud providers, like AWS, since that is what we are working with.
Provider Block: This informs Terraform that you will be using the AWS provider and want to deploy your infrastructure in the eu-west-1 region.
Step 2: Adding the App runner service
Here comes the fun part! let's add our App runner service to the main.tf
resource "aws_apprunner_service" "hello" {
  auto_scaling_configuration_arn = aws_apprunner_auto_scaling_configuration_version.hello.arn

  service_name = "hello-app-runner"

  source_configuration {
    image_repository {
      image_configuration {
        port = "8000" #The port that your application listens to in the container
      }

      image_identifier       = "public.ecr.aws/aws-containers/hello-app-runner:latest"
      image_repository_type = "ECR_PUBLIC"
    }

  }
}
output "apprunner_service_hello" {
  value = aws_apprunner_service.hello
}
Now let me explain what the above code block does.
resource: resource block describes one or more infrastructure objects, such as virtual networks. This is followed by the type of the resource, the name.
service_name: Name of the service.
source_configuration: The source to deploy to the App Runner service. It can be a code repository or an image repository. We used a public image on AWS ECR(Elastic container registry). As of the time of writing this article, Apprunner only supports images from Private and Public ECR for container images.
output: Output variables can be quite useful when building out your configuration. Output values are similar to function return values.
Step 3: Applying our configuration
First, we initialize our working directory to download project plugins. The command is:
terraform init
By default, the provider code is downloaded into the .terraform folder in the root directory (you may want to add it to .gitignore)
Now that you have the provider code downloaded, run the terraform plan command:
terraform plan
The terraform plan command lets you preview what Terraform will provision before executing them.
Now it's time to apply the changes and spin up your containerized Application on App runner.
terraform apply
This will show you the same plan output and ask you to confirm with Yes if you want to proceed with this plan. Once you confirm, it takes a couple of minutes to apply the configuration, you will see Terraform print out the following:
Apply complete! Resources: 1 added, 0 changed, 0 destroyed.

Outputs:

apprunner_service_hello = {
  "arn" = "arn:aws:apprunner:eu-west-1:790783553687:service/terra-app-runner/8fbcddbda2e34cbcb48befbd9ef30632"
  "auto_scaling_configuration_arn" = "arn:aws:apprunner:eu-west-1:790783553687:autoscalingconfiguration/DefaultConfiguration/1/00000000000000000000000000000001"
  "encryption_configuration" = tolist([])
  "health_check_configuration" = tolist([
    {
      "healthy_threshold" = 1
      "interval" = 5
      "path" = "/"
      "protocol" = "TCP"
      "timeout" = 2
      "unhealthy_threshold" = 5
    },
  ])
  "id" = "arn:aws:apprunner:eu-west-1:790783553687:service/terra-app-runner/8fbcddbda2e34cbcb48befbd9ef30632"
  "instance_configuration" = tolist([
    {
      "cpu" = "1024"
      "instance_role_arn" = ""
      "memory" = "2048"
    },
  ])
  "service_id" = "8fbcddbda2e34cbcb48befbd9ef30632"
  "service_name" = "terra-app-runner"
  "service_url" = "ajxqmh7ehq.eu-west-1.awsapprunner.com"
  "source_configuration" = tolist([
    {
      "authentication_configuration" = tolist([])
      "auto_deployments_enabled" = false
      "code_repository" = tolist([])
      "image_repository" = tolist([
        {
          "image_configuration" = tolist([
            {
              "port" = "8000"
              "runtime_environment_variables" = tomap(null) /* of string */
              "start_command" = ""
            },
          ])
          "image_identifier" = "public.ecr.aws/aws-containers/hello-app-runner:latest"
          "image_repository_type" = "ECR_PUBLIC"
        },
      ])
    },
  ])
  "status" = "RUNNING"
  "tags" = tomap(null) /* of string */
  "tags_all" = tomap({})
Step 4: Testing our application
Now that we've completed the steps, it's time to test the provisioned App on App runner. Look for the service_url part of the output. You will see something like this:
“service_url” = “bg2hcjuckx.us-east-1.awsapprunner.com”
Copy the value of the service_url and try it into your browser; you should see something similar to the screenshot below.
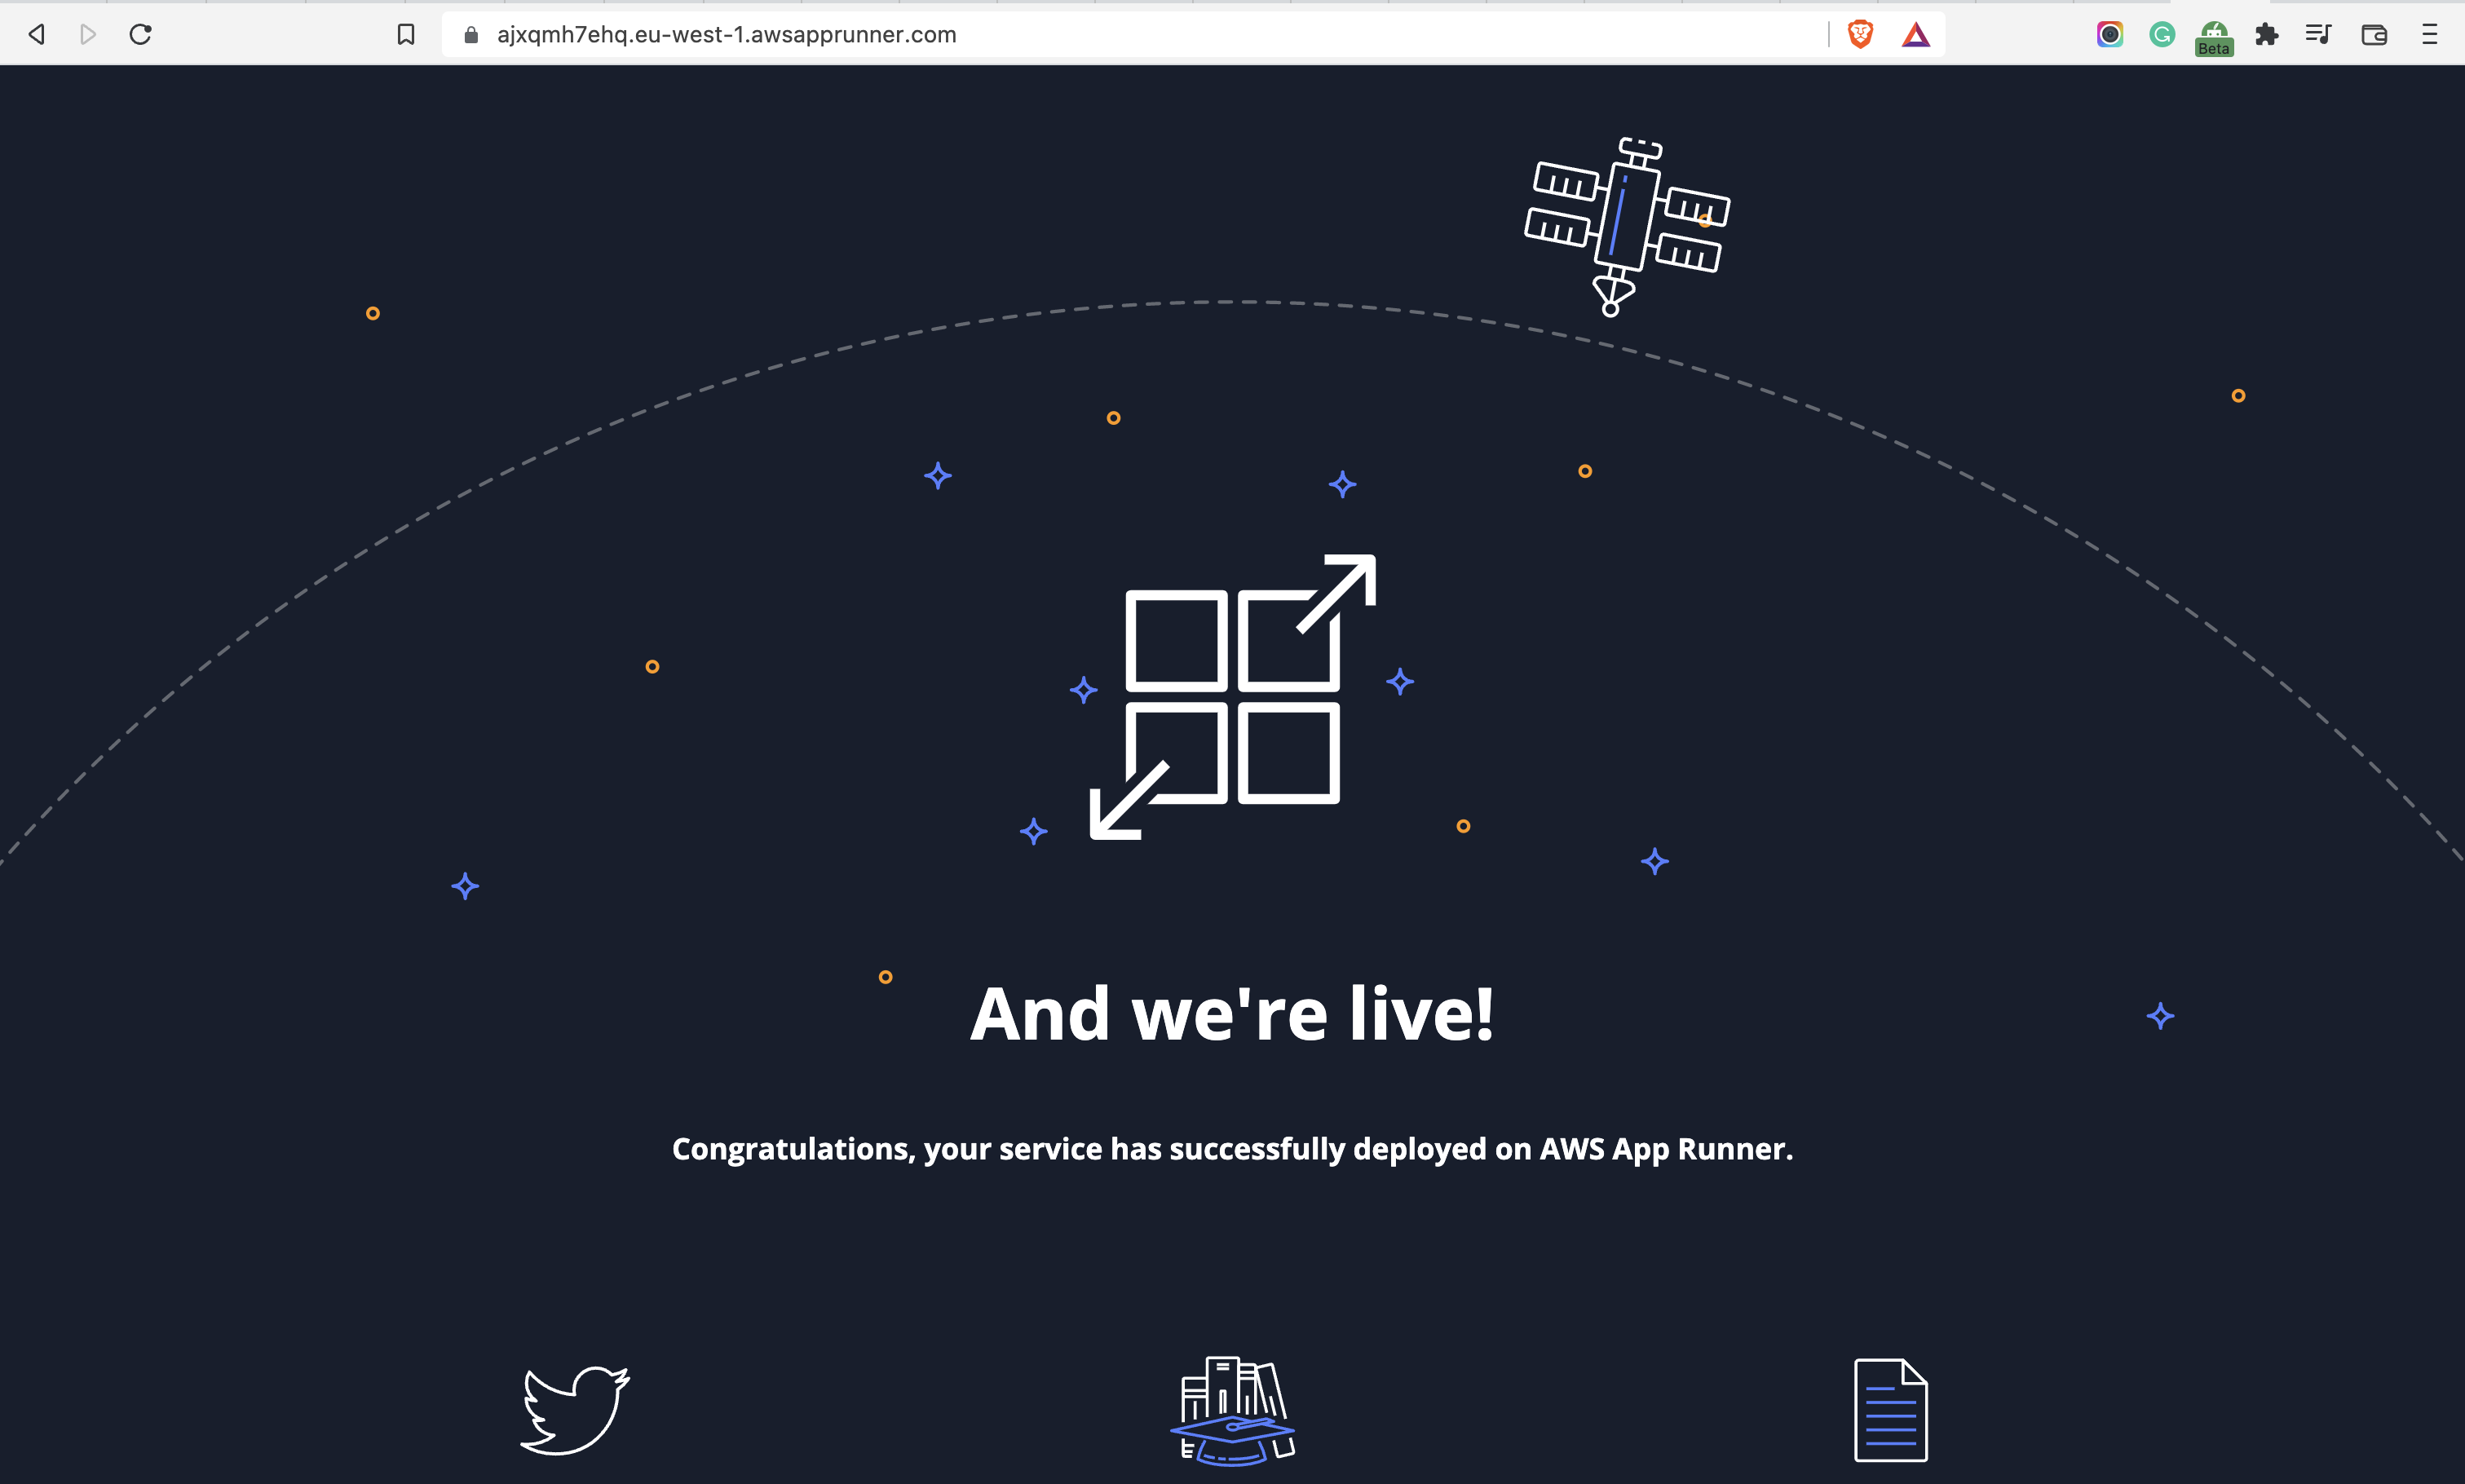
Congratulations! We have successfully deployed a containerized app on App runner. Kindly note that the service _url above might not be available when you read this.
Reference
You may find these resources helpful.
Thank you for reading, and remember to sign up for my newsletter to be the first to learn when I publish a new piece.